Using the iPad for: Blogging with Jekyll
This entire site is built using Jekyll, a static site generator written in Ruby. I have custom templates, CSS, and even several Ruby plugins, and I’m pretty pleased with it. It lets me keep all my content in Markdown, and edit posts in any text editor.
My host is Linode (oh how I love them), and I have a fully iPad-only workflow for blogging and updating the site.
On the iPad
In my article on making email newsletters on iPad, I talked a bit about Editorial, one of my favourite iOS apps. It’s a text (and code) editor and automation toolkit in one. No surprises, then, that I use it as my Markdown editor for blogging too.
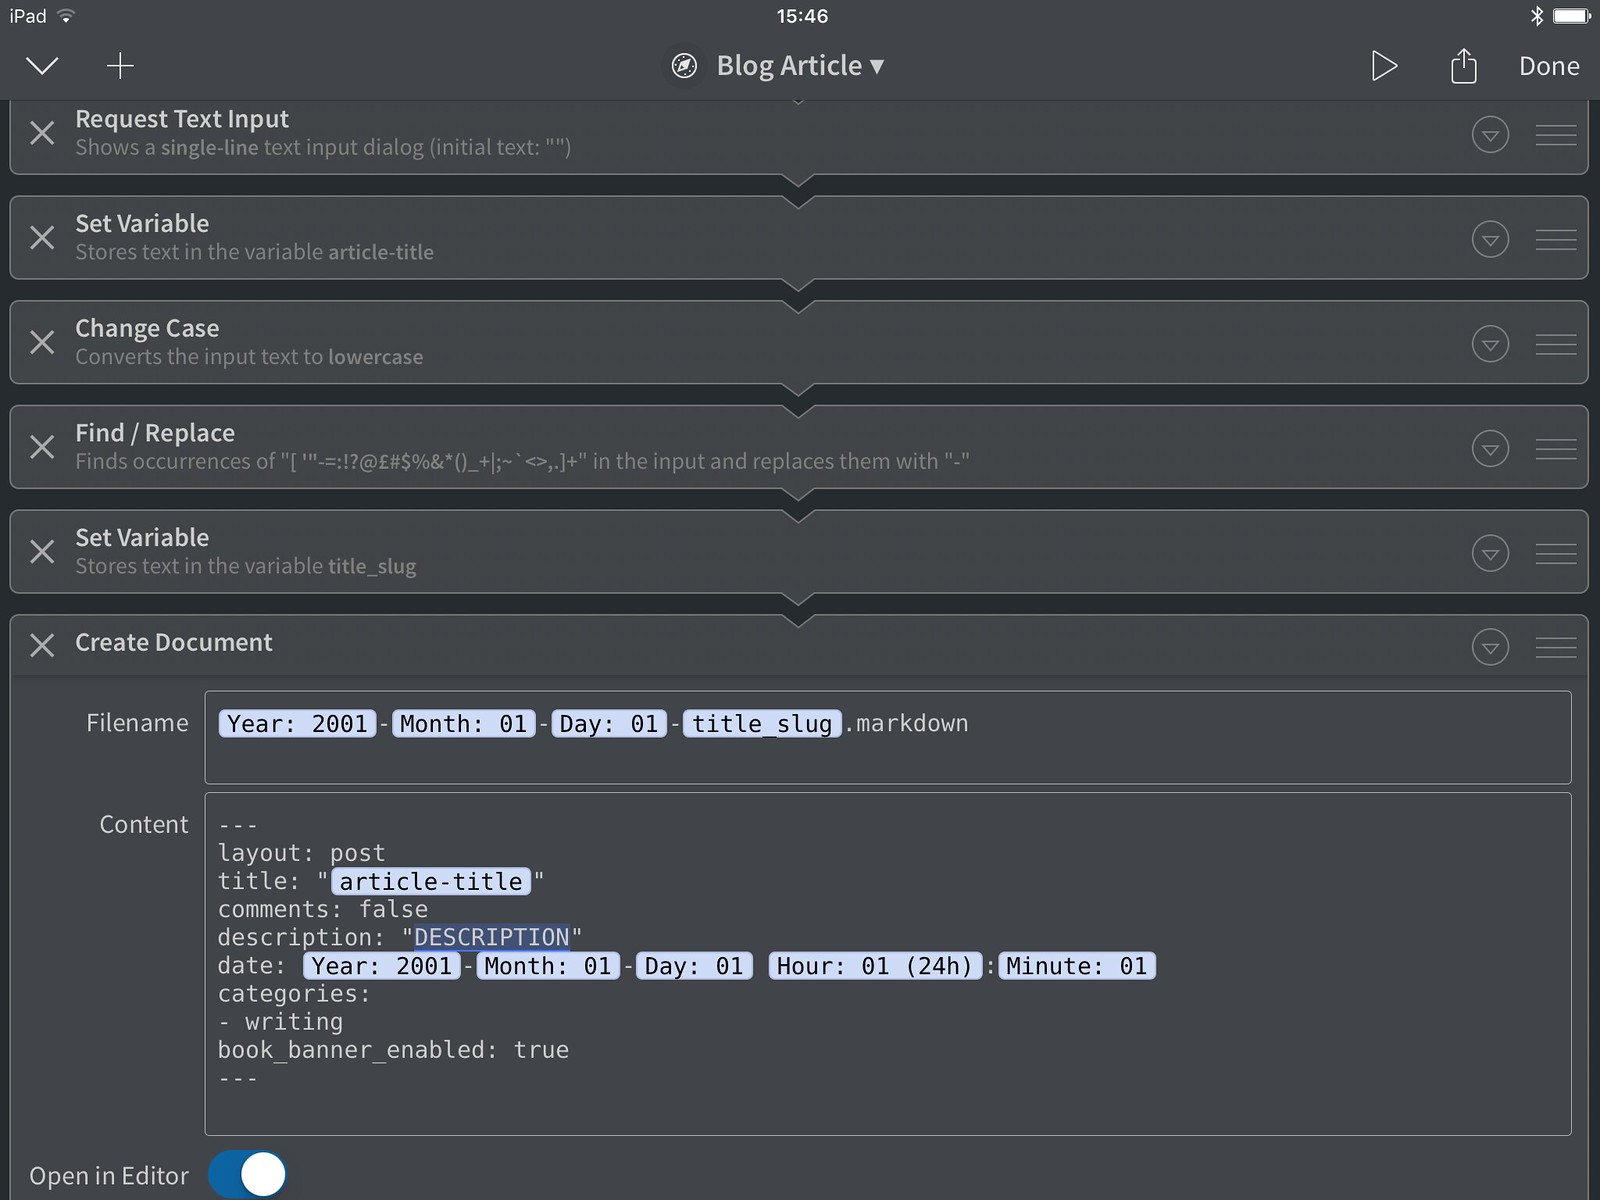
Since it talks to Dropbox, I can just create new articles directly in my Dropbox where I keep my entire Jekyll site, and they’re ready to go when I next build and publish (more about that later). I have an Editorial document template that creates a suitably-formatted Markdown (with YAML front-matter) file for a new blog post. Here’s a screenshot of the template, which is of course actually an Editorial workflow in disguise.
When I want to insert images and such, I grab a suitable image URL from Flickr (where I keep all my photos and screenshots), and use another Editorial action to make the appropriate HTML for me. I copy an URL, type a caption (or ALT text), and tap a button; done.
On the server
My web server uses Apache and the Varnish cache to serve the site. My ideal solution would be to never have to bother with uploading new articles or changed files… so that’s exactly what I set it up for. You can install a Dropbox daemon on a Linux server, and since you can tell each installation of Dropbox to exclude certain directories and sub-directories from sync without affecting any of your other machines, I basically have a Dropbox folder on my server that only cares about the files that pertain to my site. It’s always up to date — the Jekyll site, that is; the site’s source Markdown, HTML, and SASS CSS files. Simple.
If you’re a Jekyll user too, I suggest you exclude the _site folder for each of your sites from Dropbox. It contains the actual, generated static site; there’s no need to sync it back and forth, since you can always regenerate it.
Publishing
Whenever I want to rebuild, or publish, the site itself, I just log into the server via SSH, and execute a single command. My iPad SSH client of choice is of course Prompt. If you have Coda, Prompt is pretty much built-in, but it’s more convenient to use the standalone app if you’re not using Coda’s other features. We’ll talk about Coda again in a future article. The publishing command I execute is a simple script I wrote, which:
- Tells Jekyll to build the site (it wraps the command in
time, so I can track how long it takes). - Deploys the site by doing an rsync to the relevant directory for Apache.
- Kicks Varnish to reset the cache.
The build takes about a minute and a half (there are almost 1,200 articles on the site, with category index pages and lots of other stuff), and the other two steps are near-instantaneous. Even the script itself is in Dropbox, and there’s a variant of it that will work on my local Mac too, if I want; it just modifies the latter two steps to take place over SSH. I could readily set up automated builds, but I prefer to do it manually when I’m ready.
Since Jekyll includes its own staging server, I can also stage the site via Prompt or Coda too; Jekyll lets you choose which hostname and port to bind its server to, so I can run the staged site for testing on a high port while leaving Varnish to run the production site as usual. Again, it’s a single command.
There’s very little here that’s meaningfully different from using my Mac; just the initial creation and editing of the Markdown file. I used to do it by manually copying and modifying an existing post to create each new one, with a couple of BBEdit scripts and Keyboard Maestro macros to automate file-naming and such. My iPad setup is actually faster, through no fault of the Mac apps in question.
So now I can blog from anywhere at all, using just the iPad, with a bare minimum of hassle. In a future piece, we’ll talk about web development, and changes to the site’s templates, structure, and design.
Now I’m going to go and grab another coffee from the counter in this Starbucks; my cup has been sitting empty for a little too long. See you next time, and thanks for reading.